Creating a client portal that seamlessly integrates with your brand and hides the LinkedSavvy branding is straightforward. Follow this step-by-step guide to get your portal up and running.
Step 1: Access White Label Branding
- Navigate to Settings:
- Click on your profile menu in the top right corner.
- Select Account Settings.
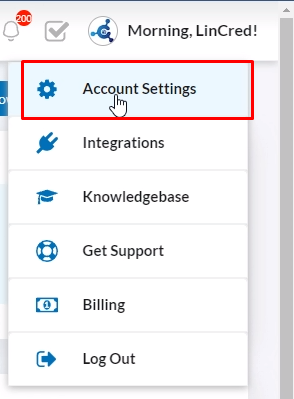
- Go to White Label Branding.
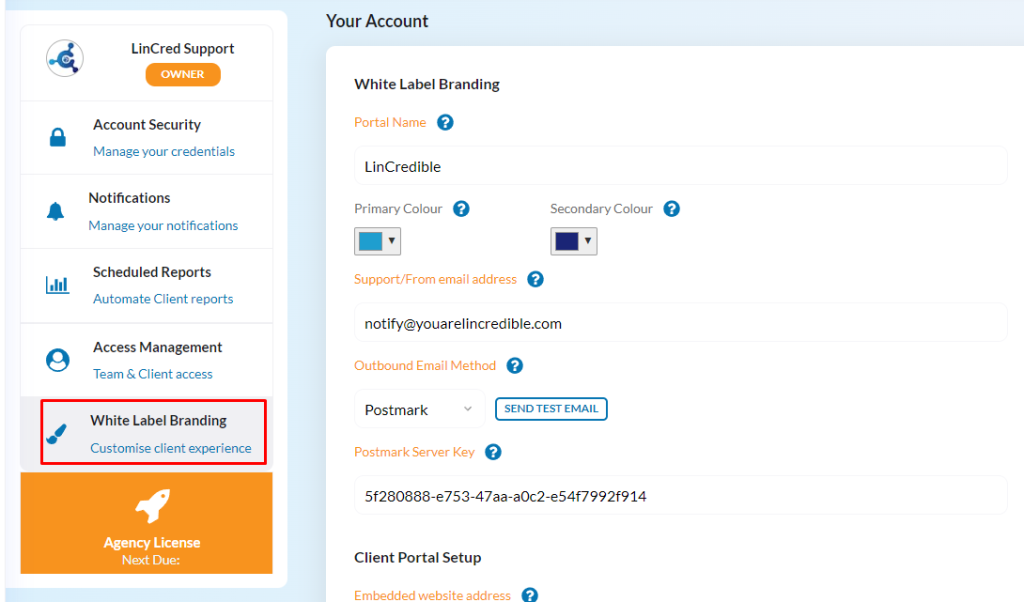
Step 2: Configure Portal Settings
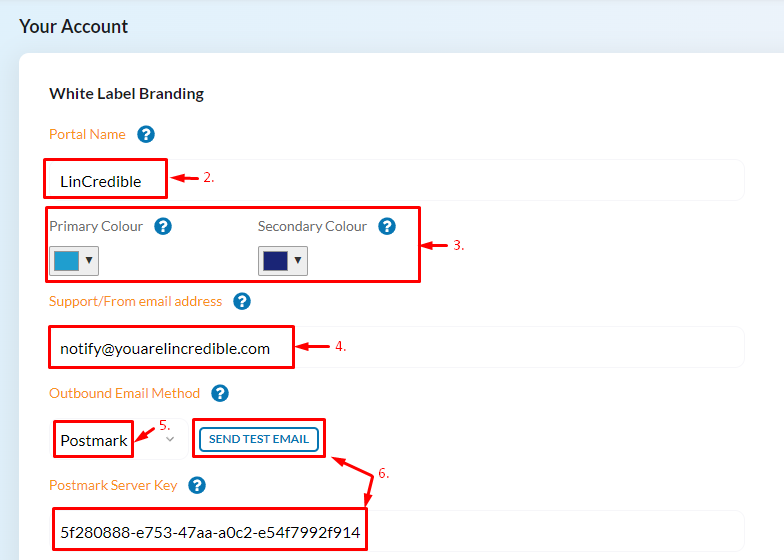
- Set the Portal Name:
- Enter a name for your portal. This name will replace “LinkedSavvy” throughout the app and in emails.
- Choose Brand Colors:
- Select colors that match your brand. These will appear in PDF reports and email notifications.
- Set Email Address:
- Enter the email address to be used as the support email in PDF reports and as the ‘from’ address for system emails.
- Select Outbound Email Method:
- Choose between Postmark or a custom SMTP service. Postmark is recommended for its ease of setup and reliable deliverability.
- Test Email Setup:
- Enter the required fields (e.g., Postmark server key) and click on Send Test Email to ensure everything is working correctly.
Additional steps on setting the outbound email method will be described further below on steps 4 and 5.
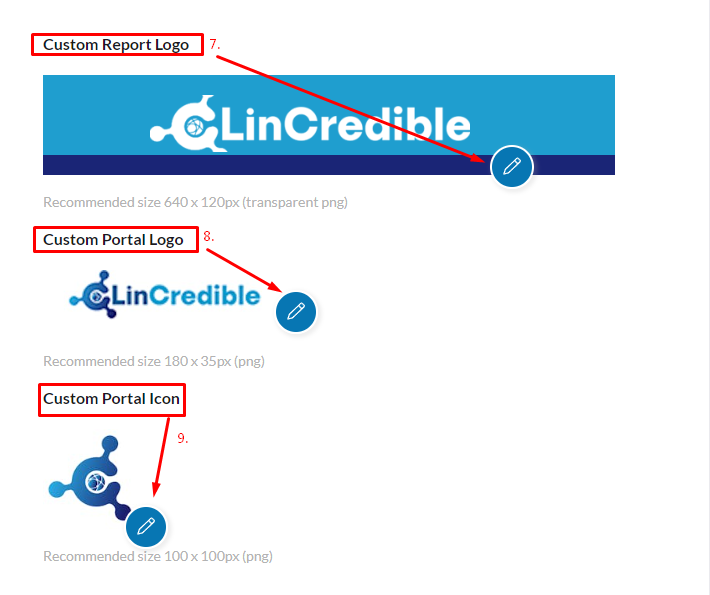
Step 3: Add Logos and Icons
- Upload Report Logo:
- Add a logo for PDF reports and the portal itself.
- Upload Portal Logo:
- Add a logo that will appear in the left-hand sidebar of the application (when collapsed it’ll only show the icon [described in next step], when expanded it’ll also show the logo you need to add on this step) and email notifications.
- Set Custom Portal Icon:
- This icon will be used in the top-left menu of the app and it’s also gonna be the favicon when the portal is embedded on your website.
Step 4: Prepare to Embed the Portal
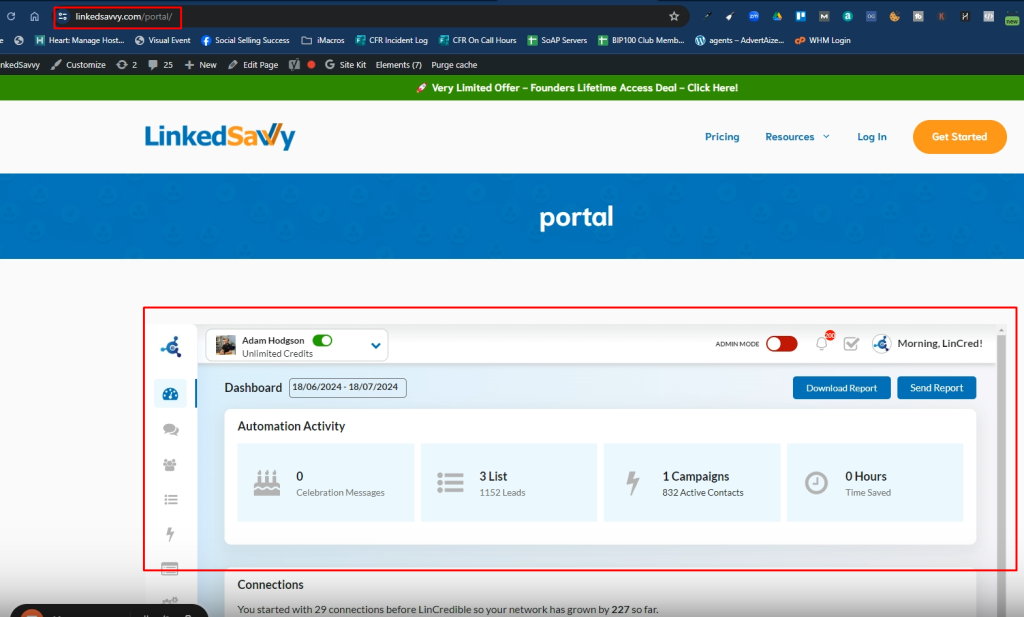
This stage isn’t some kind of custom domain name setup or anything like that where you’d need to set your domain settings to be pointing at some some address of ours or something like that, this is just purely used as the links that will be generated in anything, like “forgot password” or login email notifications and any other link within the application.
So this is where we’ll send your clients to essentially, this can be absolutely anything. It needs to be where you’re going to actually add the embed code that people will use to access your white label portal and with that done It’s just really a case of actually adding this embed code.
Here are the steps:
- Specify Website Address:
- Enter the address of the website where you intend to embed the portal. This is not a custom domain setup but it’ll be used for generating links in emails and notifications.

Step 5: Embed the Portal Code
- Get the Embed Code:
- Copy the HTML embed code provided.
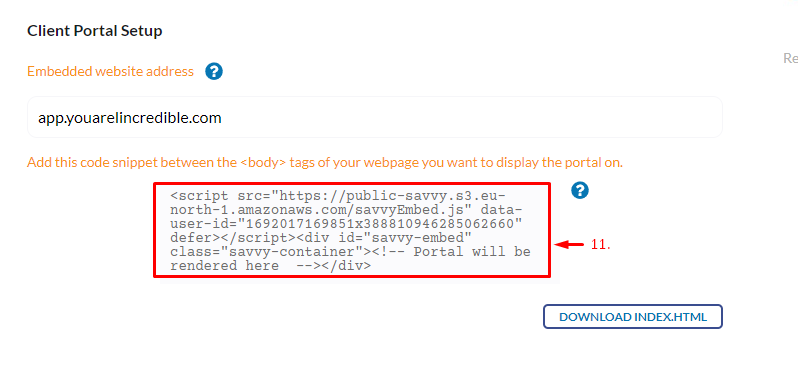
- Insert the Embed Code:
- Paste the embed code between the
<body>tags of any web page where you want the portal to appear.
- Paste the embed code between the
Example: Embedding on a Hosting Site*
- Create a Hosting Account:
- Set up a simple hosting account for your domain, e.g.,
app.yourdomain.com.
- Set up a simple hosting account for your domain, e.g.,
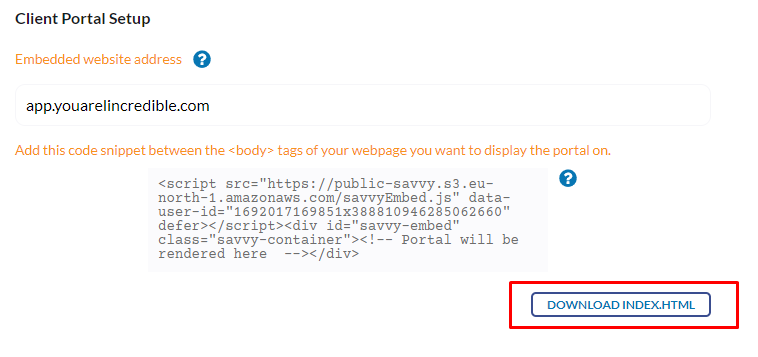
- Upload Index Files:
- Use the file manager of your hosting account to upload the
index.htmlfile with the embed code (before that you can download the index.html file below the code snippet on LinkedSavvy)
- Use the file manager of your hosting account to upload the
- Check the Portal:
- After the index is uploaded, navigate to your domain (e.g.,
app.yourdomain.com), upload the index.html file and/or refresh the page to see the portal loading.
- After the index is uploaded, navigate to your domain (e.g.,
*Please note that although most hosting sites use “index.html” as a default file to configure the portal, depending on how your domain is setup the index file may need to be uploaded in a different way (e.g. a different file name or extension). Check the hosting requirements if needed.
Embedding Code on Web (Example: WordPress)
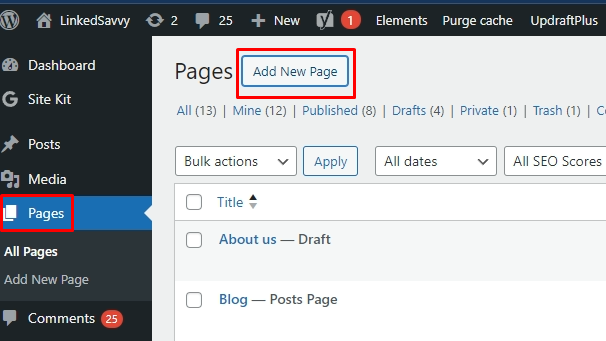
- Add a New Page:
- In WordPress, create a new page (e.g., named “Portal”).
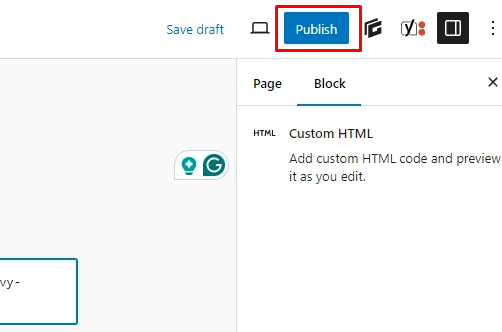
- Insert Custom HTML Block:
- Choose a custom HTML block and paste the embed code.

- Publish and View:
- Publish the page and view it to ensure the portal loads correctly (make sure third-party cookies are enabled otherwise it might not work).
Additionally: Invite Clients and/or Team Members
- Add Users:
- Go to Access Management (top-right menu > Agency Settings > Access Management [on the left])
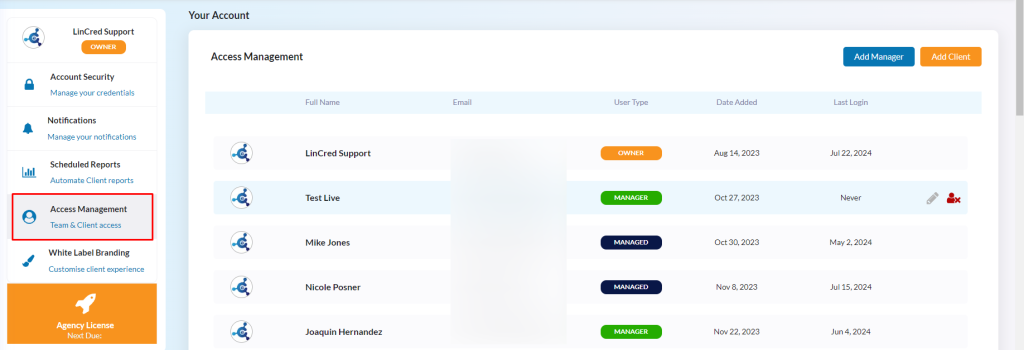
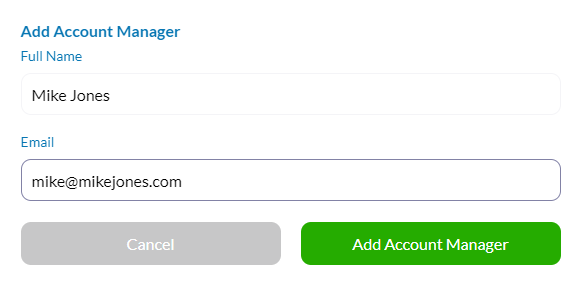
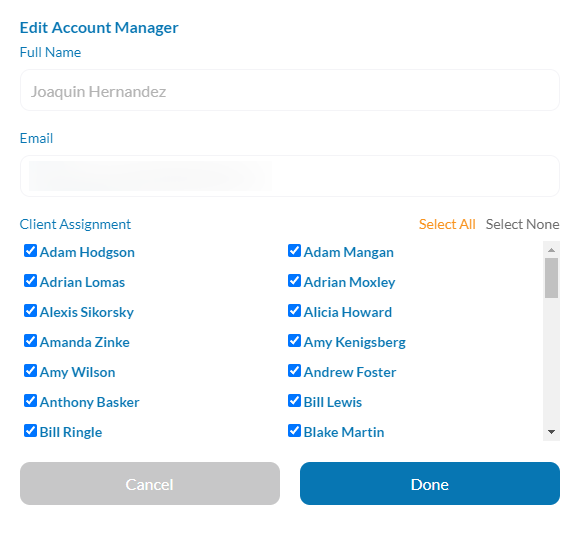
- You can add Managers (blue button on the top-right – best fit for adding members of your team to which you can assign specific accounts). This level allows managers to do everything an owner can do in terms of managing the connected LinkedIn accounts, but only on their assigned accounts.
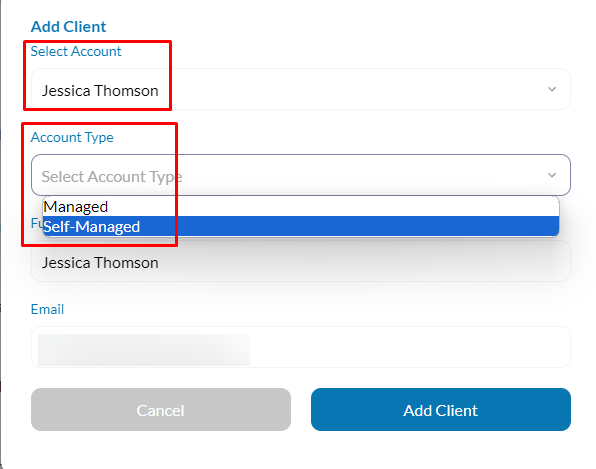
- Or you can also give access to your clients (orange button on the top-right – for LinkedIn accounts added to your LinkedSavvy account) which will create a sub-account for them where they’ll be able to see only their account info, but they’ll still be linked to your account and you can keep managing it too.
- Managed users will only get a simplified view of their campaigns, contact lists and tasks, but can’t edit them or use the inbox.
- Self-managed users have full access to the platform and can edit their campaigns, contact lists and tasks, and they can use the inbox.
Need Video Reference?
Sure thing! Here’s a recording with the full scope: https://www.loom.com/share/85414cd30d6941cf93dca06aa536f27c
Need Help?
If you encounter any issues or need assistance, our support team is here to help. Contact us for any questions or to learn more about the agency license.
Feel free to reach out, and we can guide you through the process or set up a call to explain everything in detail.